
A smooth velvety sponge with a delicate chocolate and vanilla flavour, topped with delicious cream cheese icing. This Red Velvet Loaf Cake is a brilliant treat.
*This post may contain affiliate links to products I find useful when making this recipe. As an Amazon Associate, I earn from qualifying purchases.*
I love red velvet cake. I also love loaf cakes. They are easy, you don’t need to worry about filling them, and you can cut a slice really easily.
Apart from baking cupcakes with the kids and the occasional celebration cake, loaf cakes are pretty much the only cakes that I make.
Red Velvet Loaf cake is a little different, though.
Most of my sponges are based on a good old-fashioned Victoria sponge, equal parts butter, sugar, flour and adds, with slight variations to add flavours like lemon juice or chocolate.
But when it comes to red velvet, the texture is absolutely everything! To get that velvety smooth sponge, you need a few more ingredients, so I’ve (unfortunately) had to bake this one a few times to get the bake just right.
This is it, though, a super simple, always gorgeous red velvet loaf cake recipe!

Why I Love This Easy Red Velvet Loaf Cake
This moist red velvet loaf cake is one of my favourites because:
- It’s a bit different without being a crazy flavour.
- If you can get the red right, it’s super impressive.
- You can always throw some extra food coloring in if you want to make sure.
- The flavour is delicious, and the texture is so velvety and lovely. It’s really decadent. A treat for your mouth!
- The powdered sugar and cream cheese top is a nice change from buttercream. I make a lot of buttercream.
- It’s just cool, isn’t it?
Red Velvet Flavour
The main flavours in a red velvet loaf cake are chocolate and vanilla. But only a little of each.
It’s a really subtle but absolutely delicious flavour that lets the texture shine. A creamy cream cheese icing complements it really well.
Ingredients for Red Velvet Loaf Cake
A Red Velvet Batter has more ingredients than a basic sponge. While the flavours are subtle, the texture is exceptional, and it’s all the ingredients working together that help you achieve it.

Don’t worry, though, it’s still a super simple recipe, and you don’t need to know any fancy techniques at all.
For my Red Velvet Loaf Recipe, I use:
Margarine – You can use room-temperature unsalted butter, but I find margarine works well in the cake.
Caster Sugar
Eggs
Red Food Colouring – You want to use a good quality food colouring paste or gel instead of a cheap liquid if you want that wonderful red colour. I use this one. (affiliate link)
Cocoa Powder
Buttermilk – You can get buttermilk from big supermarkets, but if you haven’t got any, you can just the same quantity of milk (I use semi-skimmed) and add a tablespoon of lemon juice to sour it. Leave it to sit for a few minutes before using it.
Plain Flour
Vanilla Extract
White Wine Vinegar
Bicarbonate of soda
Baking Powder
And for my cream cheese frosting, I use:
Unsalted Butter – at room temperature, don’t swap to margarine!
Icing Sugar
Soft Cheese – Something like Philadelphia, supermarkets own, should work, as long as it’s full fat.
You can get the quantities in the recipe card at the bottom of this post.
You’ll Also Need
- A large mixing bowl
- A 2lb Loaf Pan/Tin
- Parchment paper/baking paper – I use reusable paper.
- A stand mixer or an electric whisk. You can do it by hand, too. If you don’t have them, you just need a good whisk.
How to Make Red Velvet Loaf
I used to whisk together some of the ingredients before adding to the rest. I’m not sure why. It always worked for cupcakes though.

But it didn’t work for a red velvet loaf cake.
Generally, if I’m making chocolate cupcakes, it’s two eggs, and a chocolate loaf cake is three eggs, so I just increase the other ingredients by ½ too.
This didn’t work when I tried it with red velvet. Adding ½ of everything meant my cake was huge. It burned on top before the centre baked, and the texture just wasn’t right at all.
So, I stuck to 2 eggs and just changed things around a bit.
I still just whisk it all together with an electric hand whisk (affiliate link) before baking in a lined 2lb loaf tin for about 45 minutes.
I check with a skewer to make sure the centre is cooked before removing it from the oven and leaving it to cool completely in the tin.
You can get full instructions and quantities in the recipe card at the bottom of this post.

Decorating a Red Velvet Loaf Cake
I love Red Velvet Loaf Cake with Cream Cheese Frosting. It’s the perfect combination of flavours.
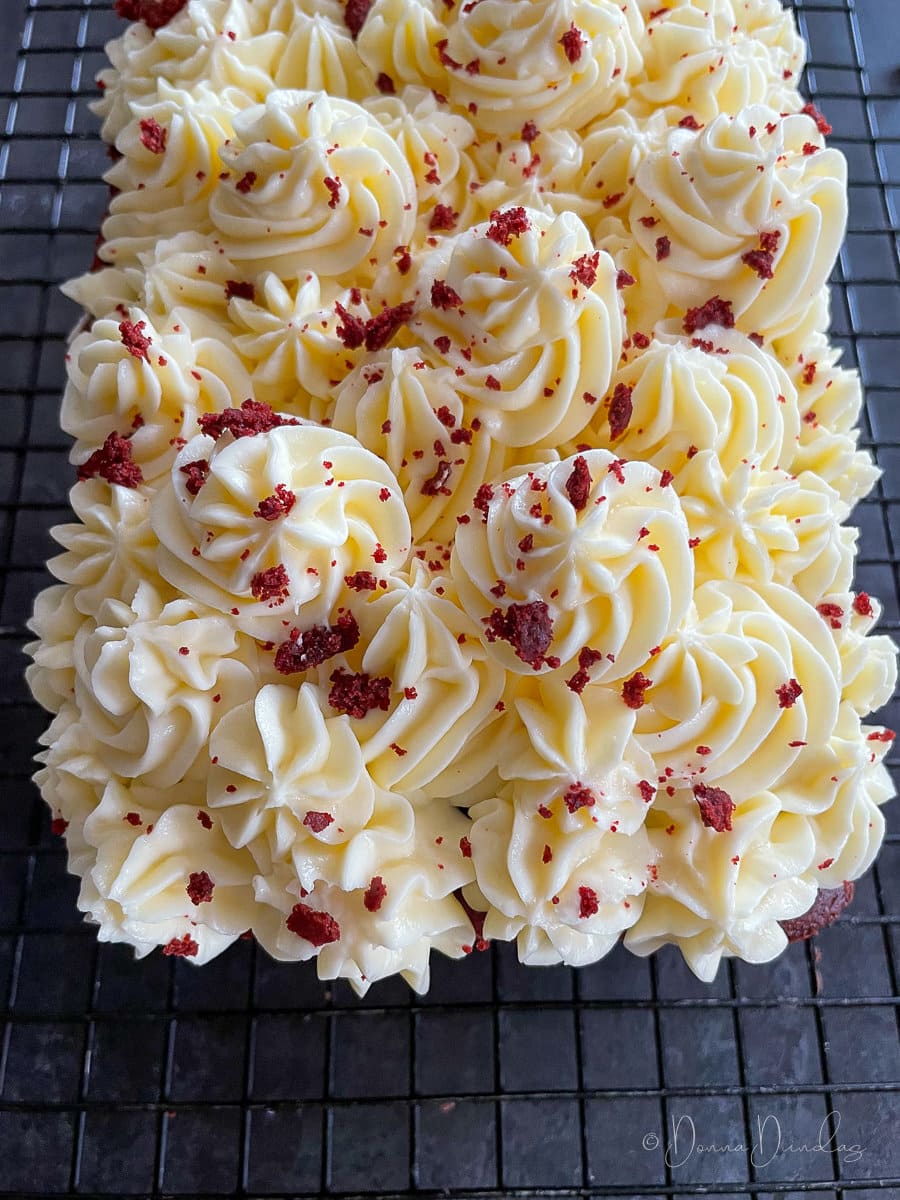
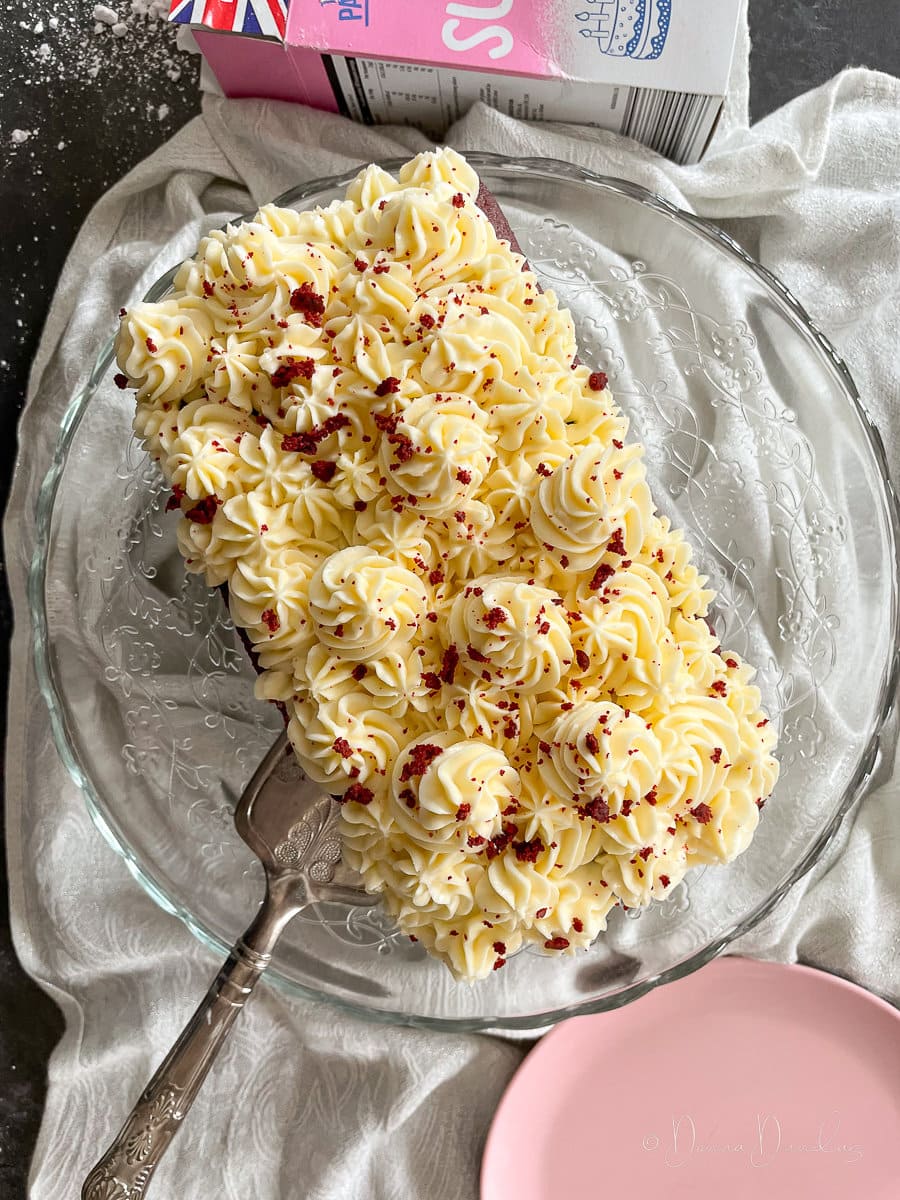
It’s common to dust the cream cheese with a little sprinkle of some of the red velvet sponge. You often see this on top and around the sides of a red velvet sandwich cake, and you can do the same here.
It’s not essential at all, but if you want to, just slice the very top of your sponge once it’s cool and use your fingers to break it up to sprinkle on top of the cream cheese icing. It adds colour and looks lovely, but it’s completely optional.
Does Red Velvet Cake Freeze Well?
Yes, a Red Velvet Pound Cake freezes really well.
But I would recommend freezing before you add the cream cheese icing. I find that cream cheese and buttercream can go a little gritty in the freezer.
If I’ve got any left, I freeze it, and stir in a little milk once it’s thawed, to bring the texture back. But obviously, you can’t do that if it’s already on the cake.
So, if you want to freeze your red velvet cake, I recommend wrapping it tightly and placing it in an airtight tub, once cool, before you’ve iced it.
Thaw in the fridge when you are ready for it.

Should You Keep Red Velvet Cake in the Fridge?
The cake itself is fine, left on the side covered.
But if you are covering it with cream cheese icing, I do recommend keeping it in the fridge, especially overnight.

I don’t find cream cheese holds consistency as well as buttercream. It softens and soaks into the cake a little. It’s also more likely to split or go bad if it’s left at room temperature.
Store in the fridge overnight, and take it out for a few hours before serving to let it come to room temperature.

Red Velvet Loaf Cake
Ingredients
- 90 g Margarine (or unsalted butter at room temperature)
- 200 g Caster Sugar
- 2 Medium Eggs
- 20 g Cocoa Powder
- 1 Heaped Teaspoon Red Food Colouring (Use good quality)
- 160 ml Buttermilk
- 250 g Plain Flour
- 1 Teaspoon Vanilla Extract
- 2 Teaspoons White Wine Vinegar
- 1 Teaspoon Bicarbonate of Soda
- 1 Teaspoon Baking Powder
For the Cream Cheese Icing:
- 125 g Unsalted Butter (at room temperature)
- 125 g Icing Sugar
- 250 g Soft Cheese (Full-Fat)
Instructions
- Preheat the oven to 160 Degrees C (fan-assisted) and line or grease a 2lb loaf tin.
- Whisk the butter and sugar together until soft.
- Add the eggs, cocoa and a good teaspoon of red food colouring and whisk until combined (I use an electric whisk for a minute or 2).
- Pour in the buttermilk and add the plain flour.
- Whisk for a few minutes until the mixture is smooth.
- Whisk in the vanilla, vinegar, bi-carb and baking powder.
- Pour into the loaf tin and bake for around 45 minutes, checking the centre with a skewer, and baking for a few more minutes if you need to.
- Once the skewer comes out clean, remove it from the oven and leave it to cool completely in the tin.
- For the cream cheese icing, beat the butter until soft.
- Add the icing sugar and whisk until the mixture is even.
- Add the cream cheese and fold in carefully.
- Once the cake is cool, remove it from the tin and if desired carefully slice off the very top with a sharp knife or cake leveller and retain.
- Pipe or spread on the cream cheese icing.
- Sprinkle over cake crumbs from the top you’ve just sliced off.
Notes
- You can use butter or margarine for the cake, but don’t use margarine for the cream cheese, this has to be butter.
- Don’t be tempted to over-mix the cream cheese, it will get sloppy. It’s better to undermix and have a few lumps than overmix.
- If you don’t have buttermilk, add 1 tablespoon of lemon juice to 160ml semi-skimmed milk, stir and leave to sit for a few minutes before using.
- I use this colouring. (affiliate link).
Any nutritional information is given as a general guide only and may not be accurate. The information is provided using an online calculator and is specific to my ingredients. Please make your own calculations if you want precise information.
